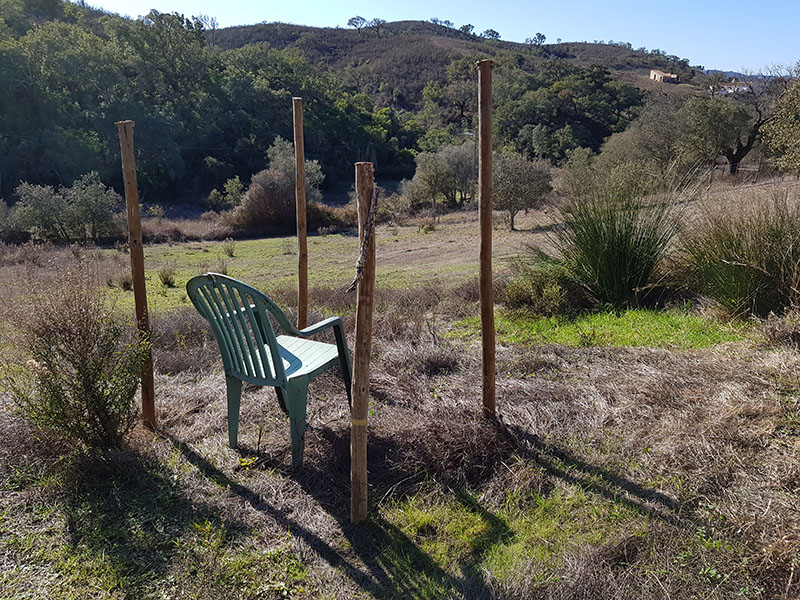
A few weeks ago, my pop-up hide that I placed at the Oasis got blown away by very strong winds during a storm. Luckily it got caught up on a fence about 50 meters away so I was able to recover it.
I didn’t put it back in place and decided that I would build a more permanent solution. Yesterday afternoon, I got to work on making a simple and cheap hide. All of the materials where left overs from the previous owners of our house, so actually cost nothing to make.
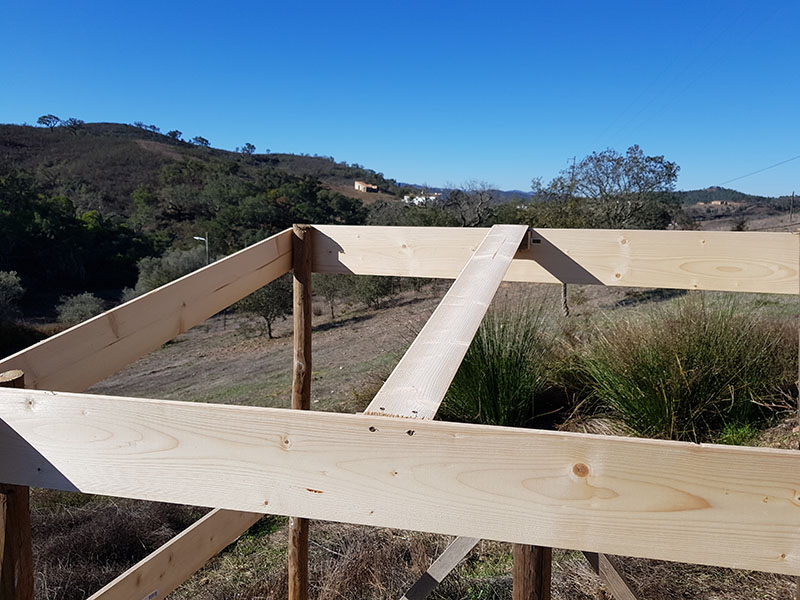
I used fence posts as the supports for the hide, using an old garden chair to gauge the size.
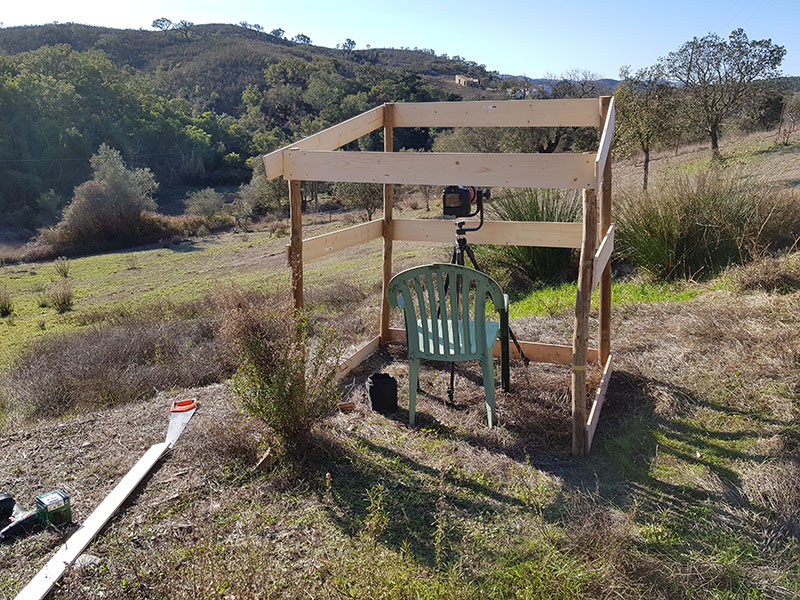
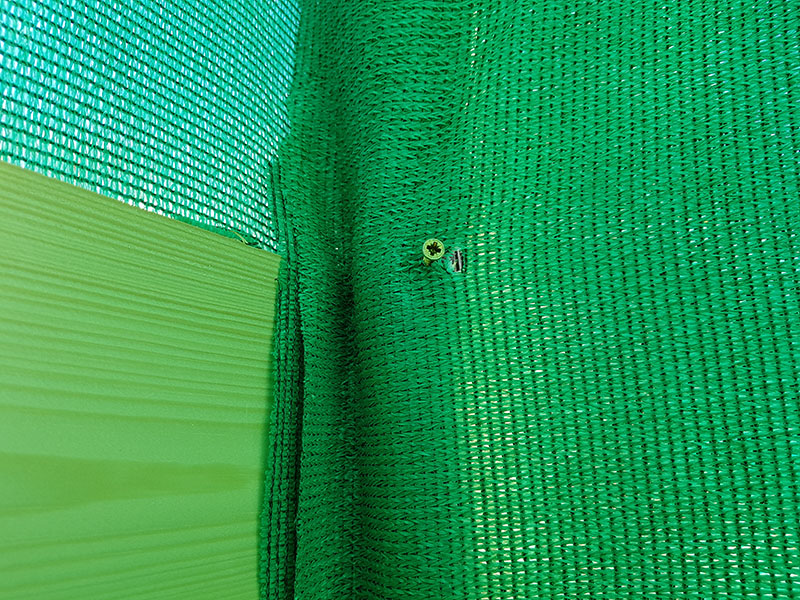
Next I cut to size some pieces of timber to hold the structure together. These are also used to staple the outer material later.
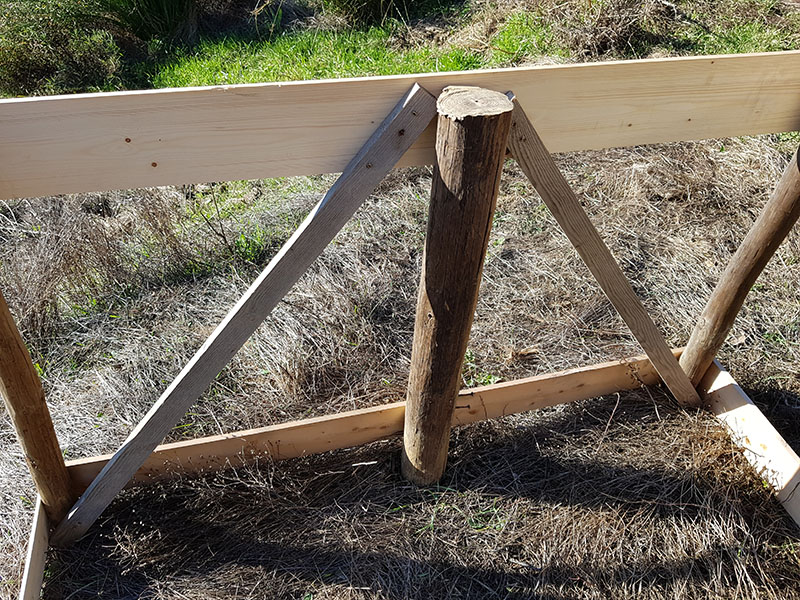
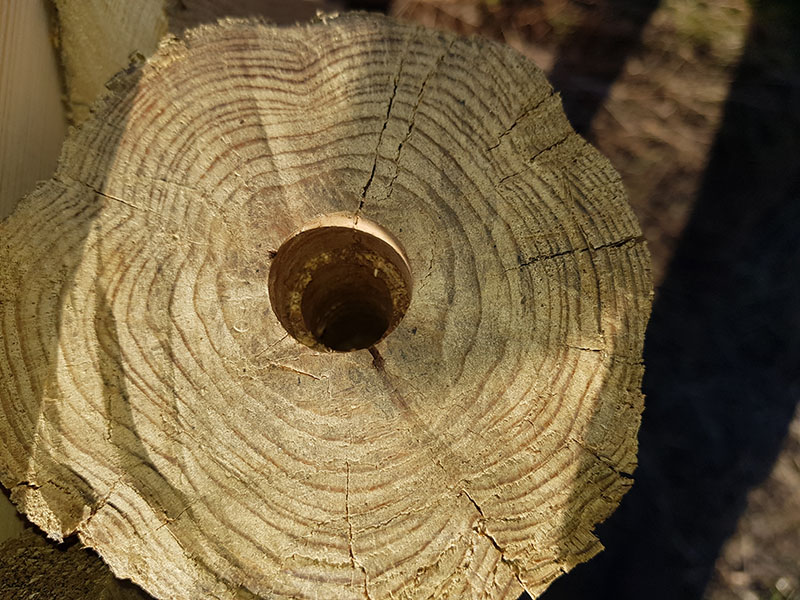
I always find using a tripod in a hide tricky due to the layout of the 3 legs. Therefore, I decided to incorporate a mount with a standard tripod screw to attach my Gimbal to. I used a large round fence post knocked into the ground about a foot. This is screwed to the front panels and then I used to diagonal supports to make it a sturdy.
I decided to use a M10 anchor bolt mounted inside the post to provide my mount.
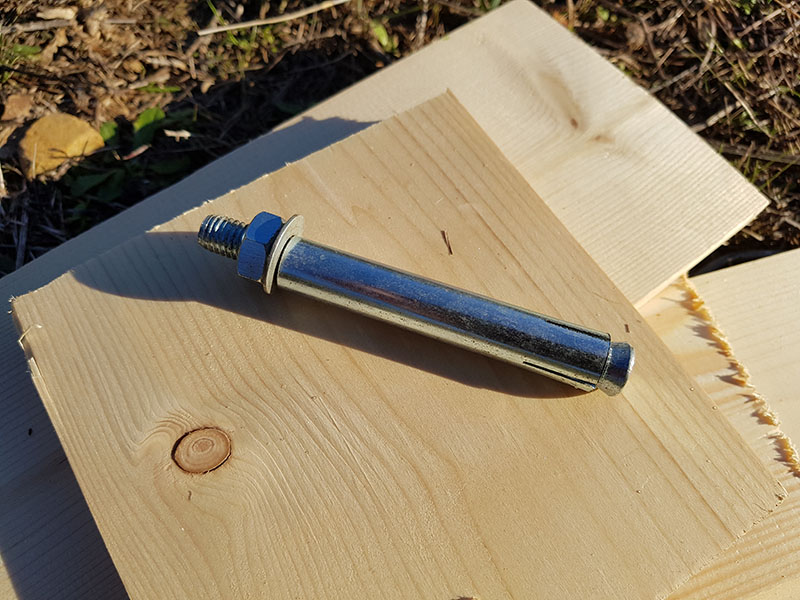
I drilled a deep hole in the post and also widened the hole at the top for the nut to sit inside.
The anchor bolt didn’t tighten as much as I thought so I also put some Evo-Stick Gripfill in the hole to bond it in place.
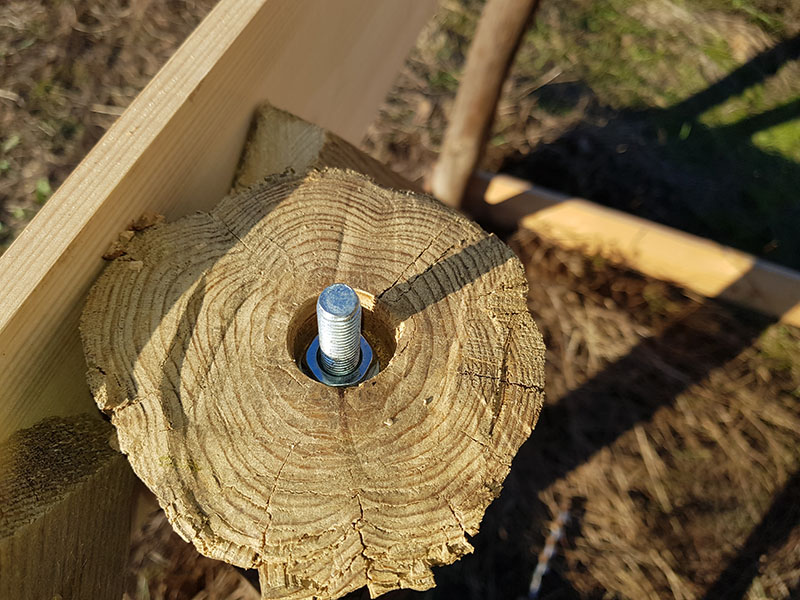
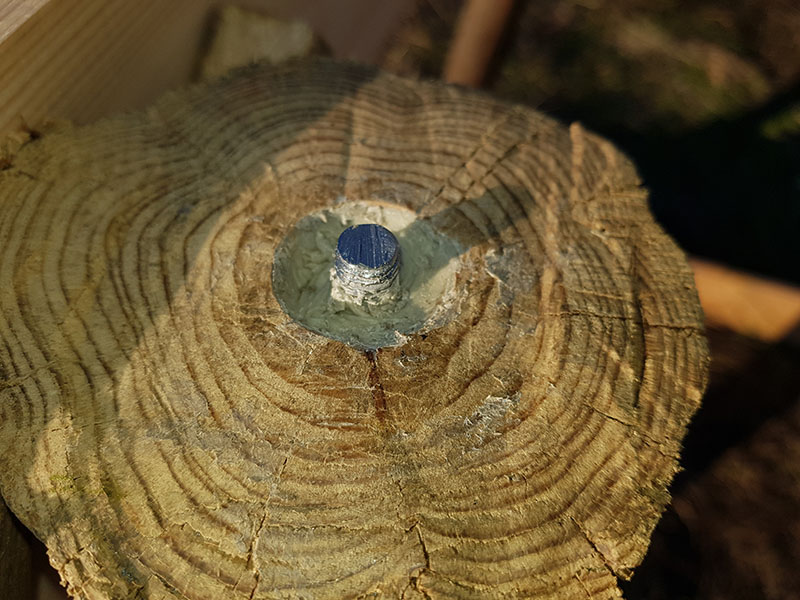
A standard tripod mount is 3/8-16 UNC, however, I had used an M10 which has a metric thread, therefore, I used a 3/8-16 Die to cut a new thread into the remaining visible bolt.
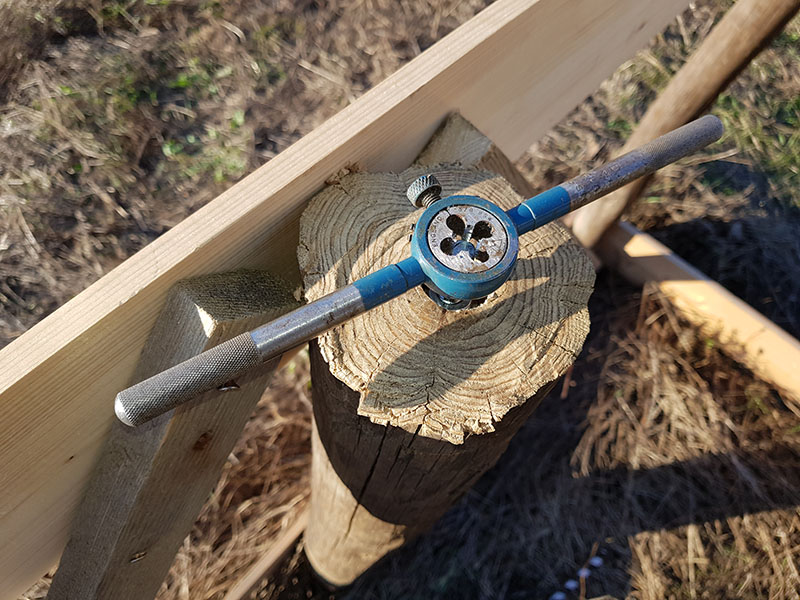
It’s crucial to get the tripod mount thread correct, too short and there is not enough support, to long and it bottoms out on the gimbal meaning it’s not tight enough. So the thread was cut to size and the space around the nut was filled with Gripfill for more support.
Next I installed a simple roof support.
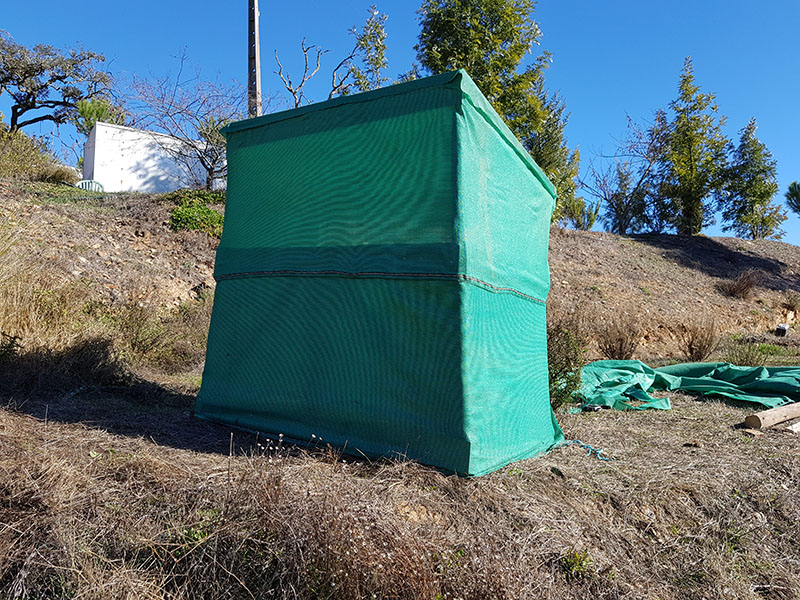
For concealment I used privacy screen. This is very popular in Portugal for fences and car ports. The bottom half is doubled to provide more concealment, the top half is single which means I can see through it.
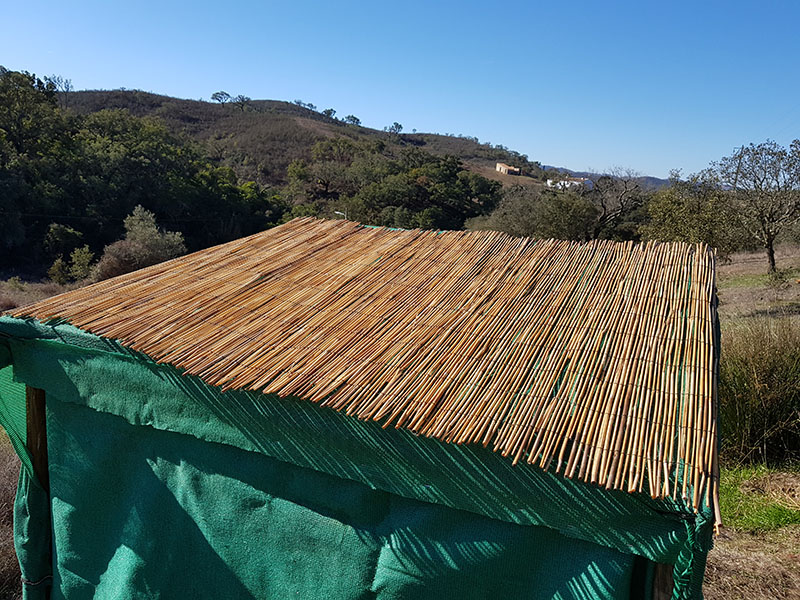
I used privacy screen on the roof too and add a bamboo screen later. Notice I also placed some block paving on the floor. This is to keep my feet dry as the ground is often wet here, hence the name Oasis.
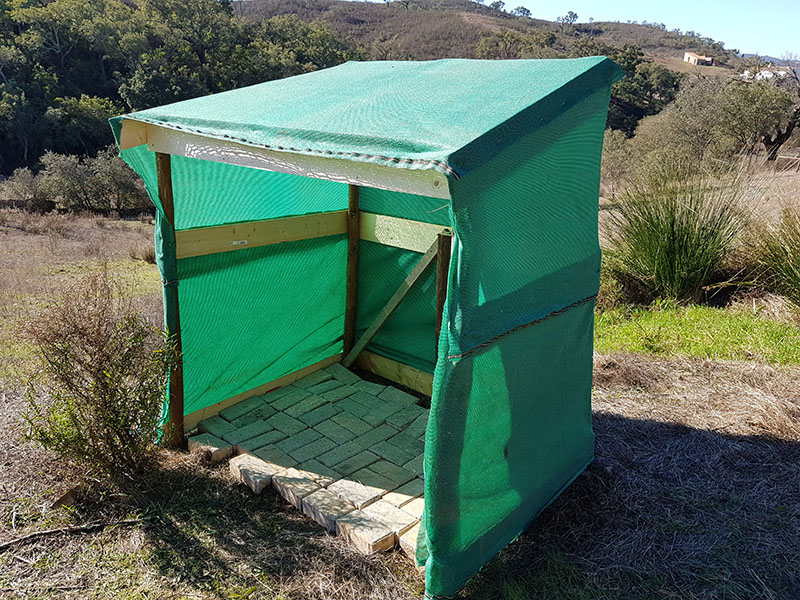
It’s important to keep light out of a hide as light entering would result in me being visible from the outside. For the back, I doubled up the privacy screen and to keep it shut I have 2 screws (middle and bottom) that I can stretch the material over to keep it closed.
Not only did I want some shade from the sun’s heat, but also wanted to stop light entering from above. I used some bamboo screen across the roof.
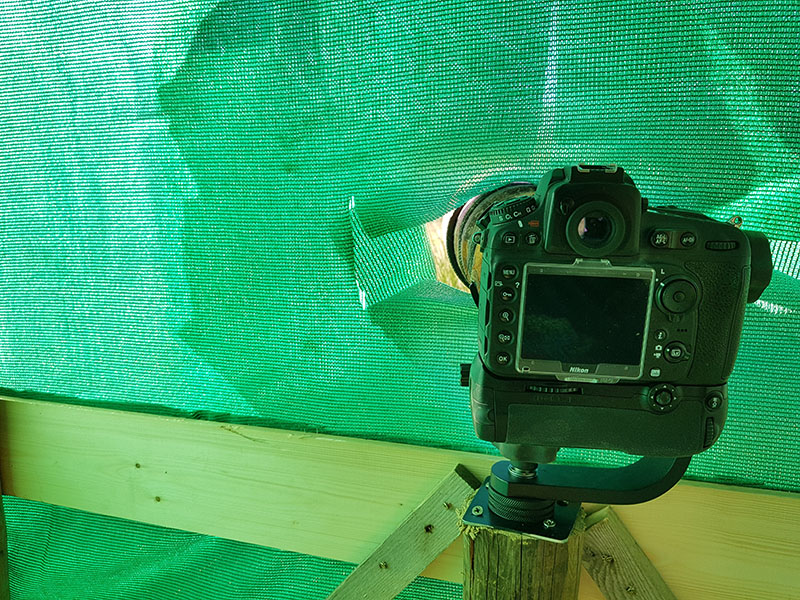
I fabricated a metal plate for the top of the camera mount so that the gimbal mount fits tight against it. Then I cut a slit in the front upper screen to poke the lens out. The slit provides a large range of movement. Difficult to see in the photo, but think of the slit as a wide H shape.
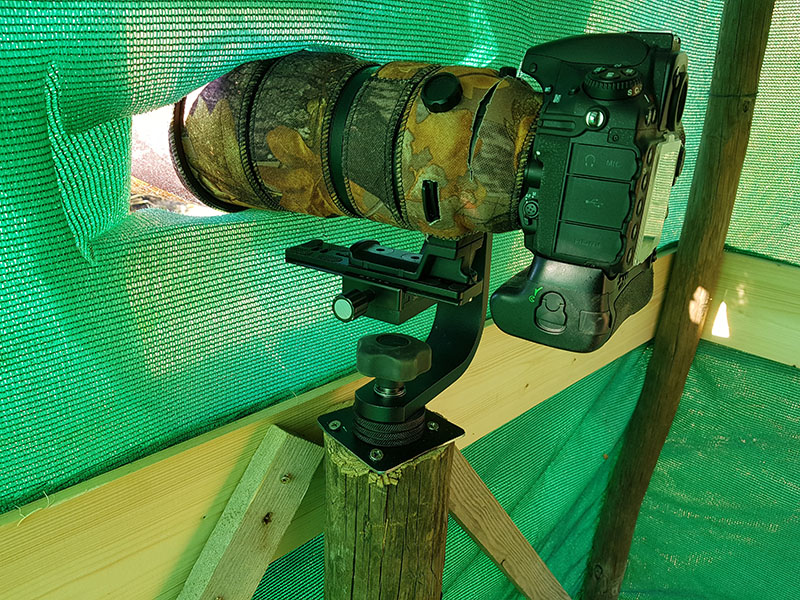
Of course, having the slit means that there is a possibility of being seen through the hole, therefore, I placed another piece of privacy screen on the outside and cut a slit in this that is an I shape.
This means that which ever position the gimbal is in, there is no gap.
That’s it! A simple DIY Photography hide, I will be spraying small amounts of brown paint on the outside to help it blend in with the surroundings. All that is missing is a cup holder…….well actually……
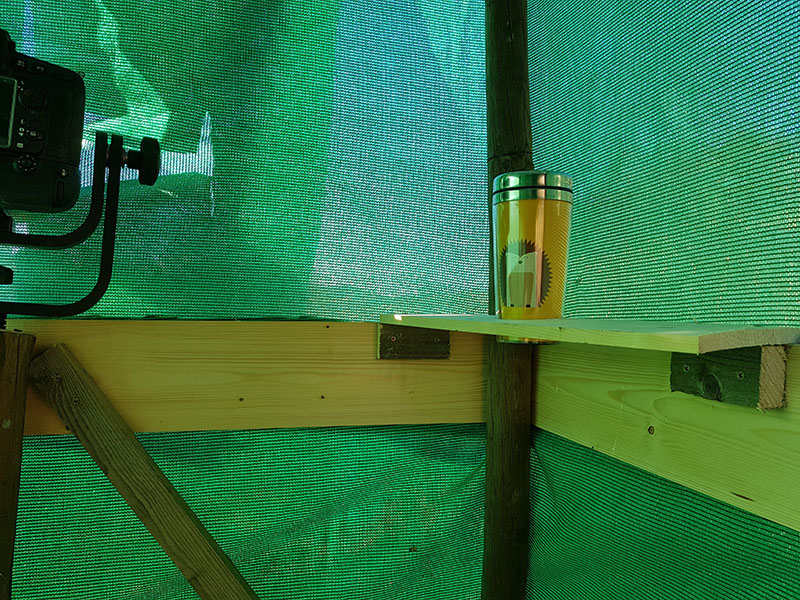
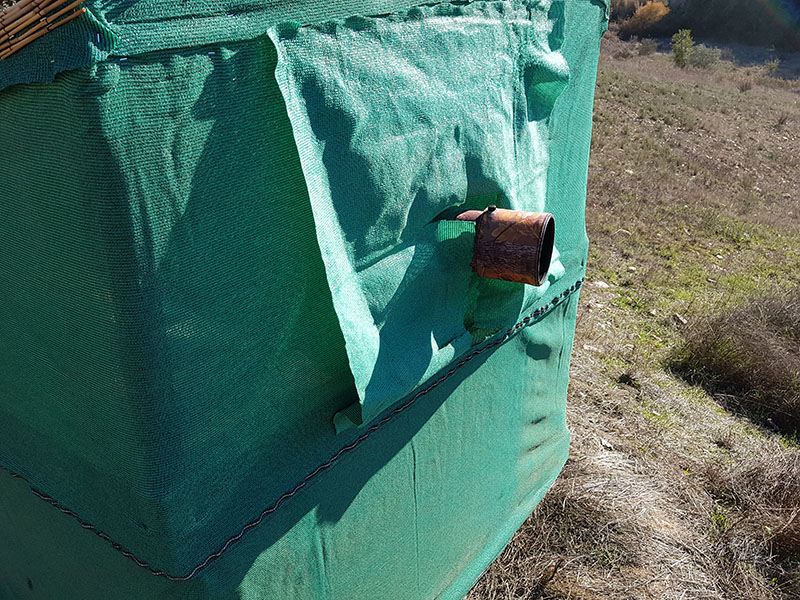
Along with the cup holder shelf, I also installed a smaller shelf on the left. This is for placing a teleconverter that can be grabbed quickly should I need it.
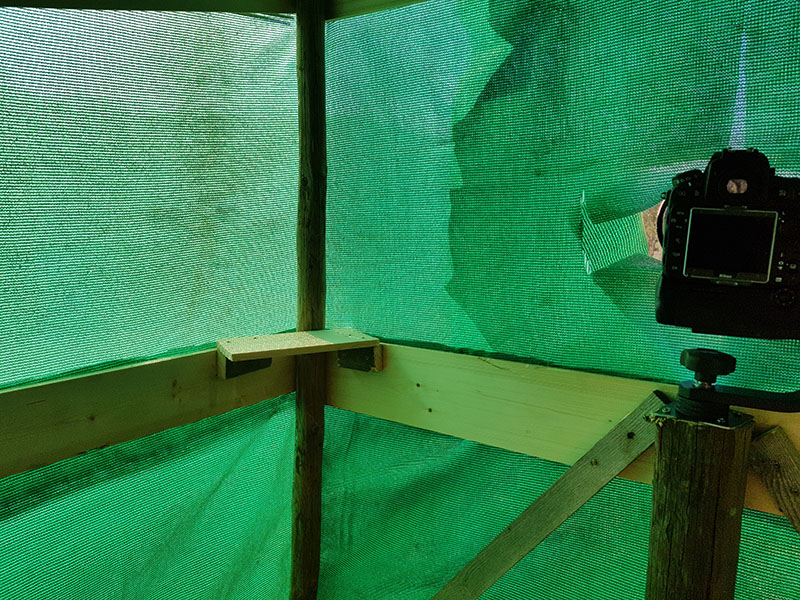
I look forward to spending some time in here and coming away with some good bird photos.